If like me you love your under seat pack, but loathe the side to side sway that seems to blight a great many users out there, then read on as I am hoping that the following article may just be of interest.
I will openly admit that this idea is not my own and is based on the http://www.bedrockbags.com/gear/railwing-seat-bag-stabilizer
but as all of us in the UK know. Sterling is weak, US shipping / customs are expensive. So $30 will most likely be £55 once you have factored it all in.
I’ll be honest and say that although this is pretty straightforward you will need to have access to a sewing machine and a few DIY tools. In all honesty, these should reside in most man caves!
My seat pack was purchased from bikepack.pl great value and well made. The only trouble was that the straps that you feed over the top of each saddle rail (almost all packs have this design) was that side to side sway is pretty much guaranteed. People kept telling me on forums that if you pack it right …. you can eliminate the side to side sway.
Anyway enough rambling.
Step 1
Using a sewing un-picker I removed the top strap from the top of the bag and then proceeded to sew a piece of velcro on the flap of my bag.

Step 2
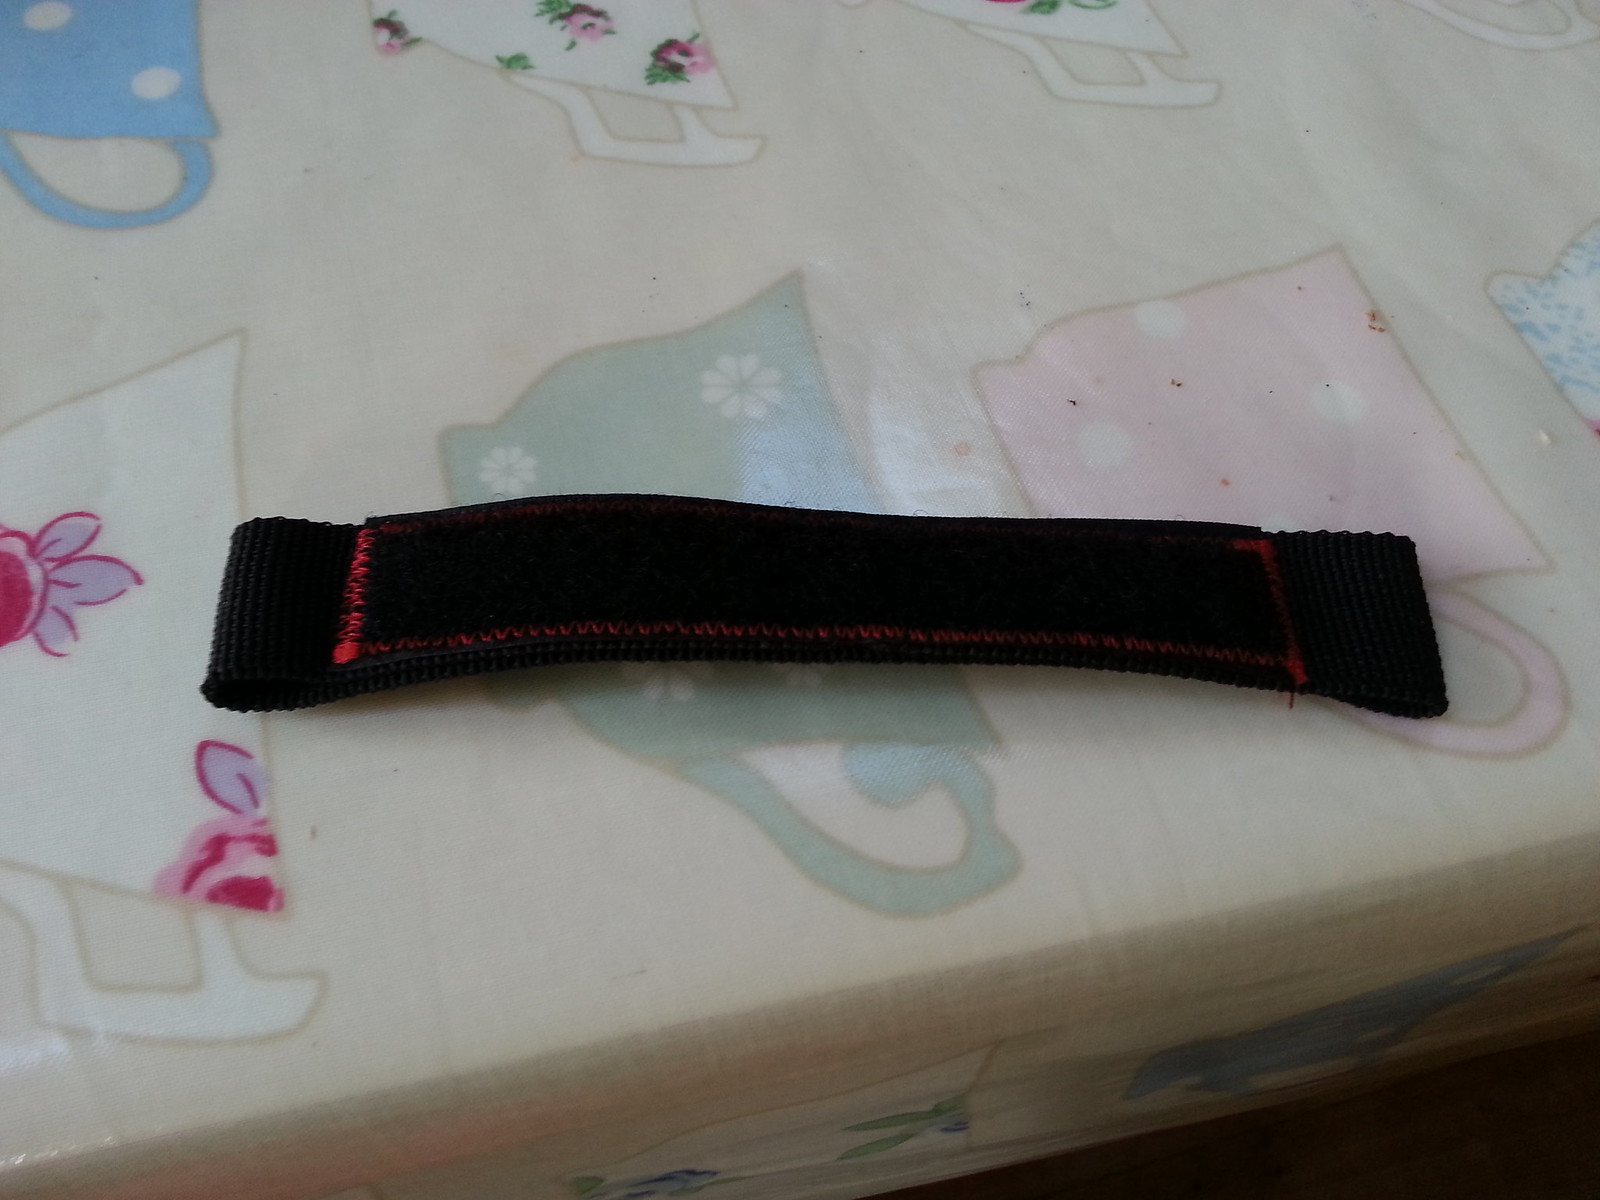
Using 25mm webbing and 25mm velcro I made up a strap. It’s difficult to see from the image, but each end has a loop (you’ll see in the end image) which takes a metal crash mat buckle. So don’t sew the velcro right to the end of the strap.
Step 3
You will need
3mm aluminium sheet. ebay
6mm diameter clips. ebay

25mm socket button screws and nuts with nylon insert. Screwfix or ebay
some large face washers (see image below)
I cut a strip (use hacksaw or jigsaw with metal blade) 55mm wide * 125mm long. I then clamped the aluminium piece to a piece of wood that had a 45 degree angle cut into it. If you have a metal vice then that would be even better. Using a hammer and block of wood I bent the aluminium as shown below. The bend was at 20mm from the edge.
As each saddle rail setup is different you will then have to measure where you drill the holes through the aluminium so that it coincides with the hole of the p-clip attached to the saddle rail.
On the picture below I have 4 p-clips. The holes through the velcro/webbing strap were done by marking the strap with a white pencil and the heating a nail held with pliers on the gas stove until it was red hot and the gently pushing it into the strap (worked a treat!) I used large washers so as to avoid any possibility of the strap being pulled over the bolt head.

One bolted up, the aluminium plate is rock solid and won’t be going anywhere.
The result is the fixing shown below. No more faffing around trying to feed the top bag straps over the seat rails, you just fix the front seat strap around the post and then feed the crash mat buckle into the loop at the end of the strap on the bracket. The crash mat buckles are brilliant and I have used them on my front roll bar bag too.

The end result is a bag that has no sway and is much easier to take on and off.
I hope this is of interest. If you don’t have the tools then I might be persuaded to knock a few of these up if people are interested.
A few pictures which hopefully convey the simplicity of getting the bag fixed on the bike compared with before. Sorry for the images not being terribly great. Not sure whether it’s the phone or my shaky hand 😦


